Winter Photography Tips: How to Shoot Stunning Photos in Cold Weather
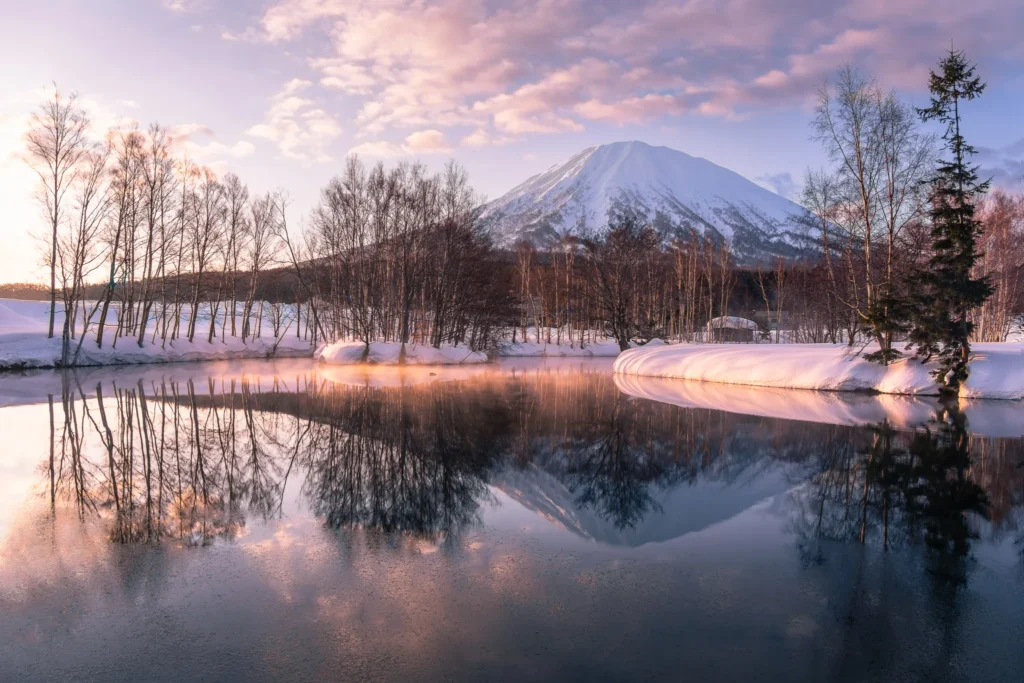
Winter photography opens up incredible opportunities — especially here in Hokkaido, Japan, where I’m based. From minimalist snowy landscapes to action sports like skiing and unique wildlife, the possibilities are endless.
But winter photography also brings real challenges: extreme cold, heavy snow, and the need to protect both yourself and your gear.
After years of braving Hokkaido’s harsh winters, I’ve made plenty of mistakes — like losing all feeling in my fingers or fogging up lenses at the worst moments. Those lessons taught me what works and what doesn’t, and now I want to share what I’ve learned.
Whether you’re exploring a calm winter wonderland or battling a raging blizzard, here’s how to prepare, adapt, and get the best results out there.
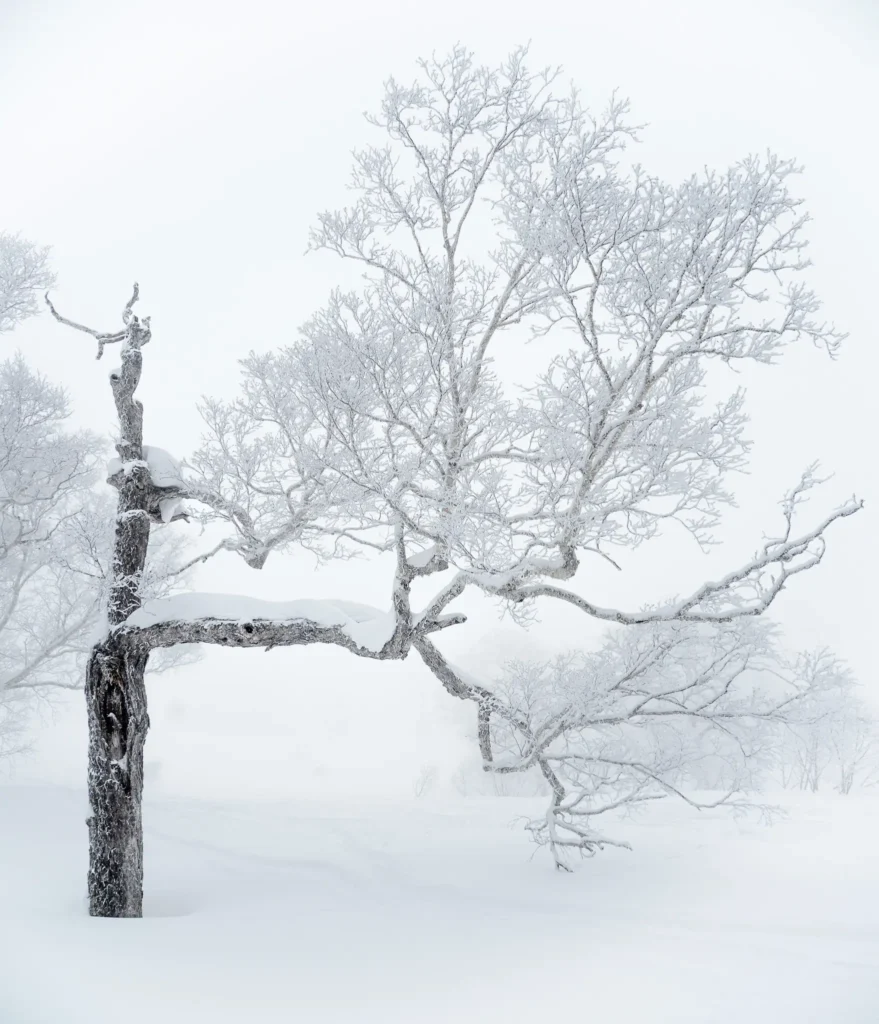
1. Planning for Winter Photography
Hokkaido winters are both breathtaking and brutal. Temperatures can drop below –10°C on a normal day, and storms can push it well below –20°C. Flexibility is key, as the weather changes fast.
I pick my location based on the forecast. Ski photography often benefits from clear days, which offer plenty of light and detail in both the skier and the snow. Wildlife photography can also work well in clear conditions, especially for capturing fast action or when you need strong contrast and light. For landscapes, I usually prefer some cloud cover or moody skies over plain blue skies — clouds add depth, interest, and dynamic light. Light snowfall can also add a beautiful sense of atmosphere and motion to a scene. Stormy weather can sometimes add drama, especially for wildlife or action shots, but only up to a point before conditions become too difficult to shoot effectively.
Prepare for Long Days Outdoors:
If I’m shooting wildlife or landscapes, I’ll often be standing still for hours. Dressing in layers is essential. It’s easier to remove a layer than to recover once you’re cold.
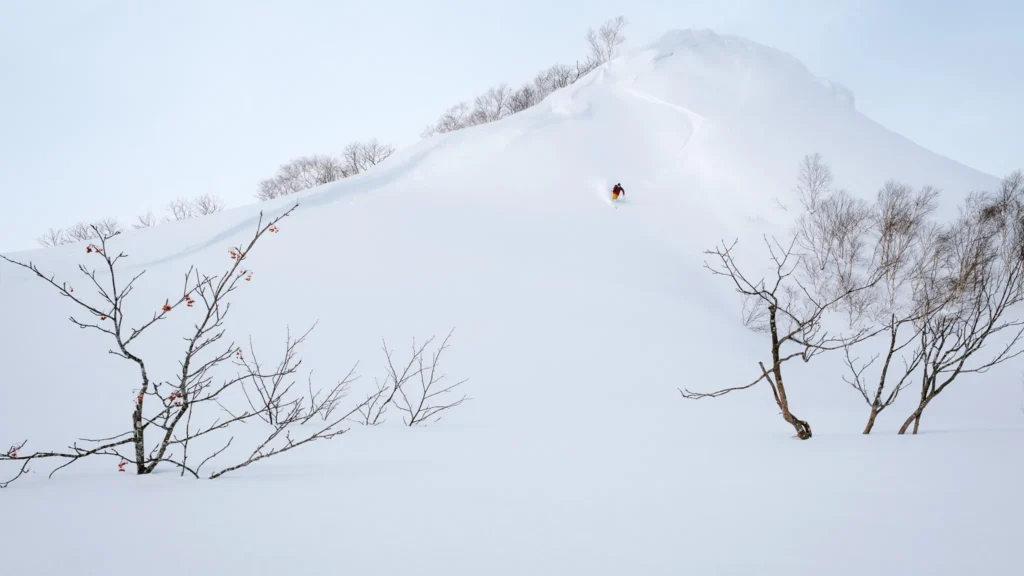
2. Dressing for the Cold (Lessons Learned the Hard Way)
Years of winter shooting have left me with poor circulation in my hands and feet. Staying warm is now non-negotiable.
My Clothing System:
- Base Layer: Merino wool (like Icebreaker) — warm and moisture-wicking
- Mid Layer: Fleece or synthetic insulation
- Outer Layer: Waterproof, windproof down jacket
Pants – My 3-Layer System:
- Merino wool or thermal base layer
- Down or synthetic insulated pants
- Weatherproof hiking or ski pants
If I’m moving a lot (like hiking or skiing), I wear fewer layers to avoid sweating — because when you stop, that sweat cools fast and makes you colder.
Accessories:
- Warm beanie + sunglasses or goggles (depending on conditions)
- Insulated snow boots (like Sorels) + thick merino wool socks
- Gloves: I use thin gloves for operating the camera and zippered mittens for warmth while idle
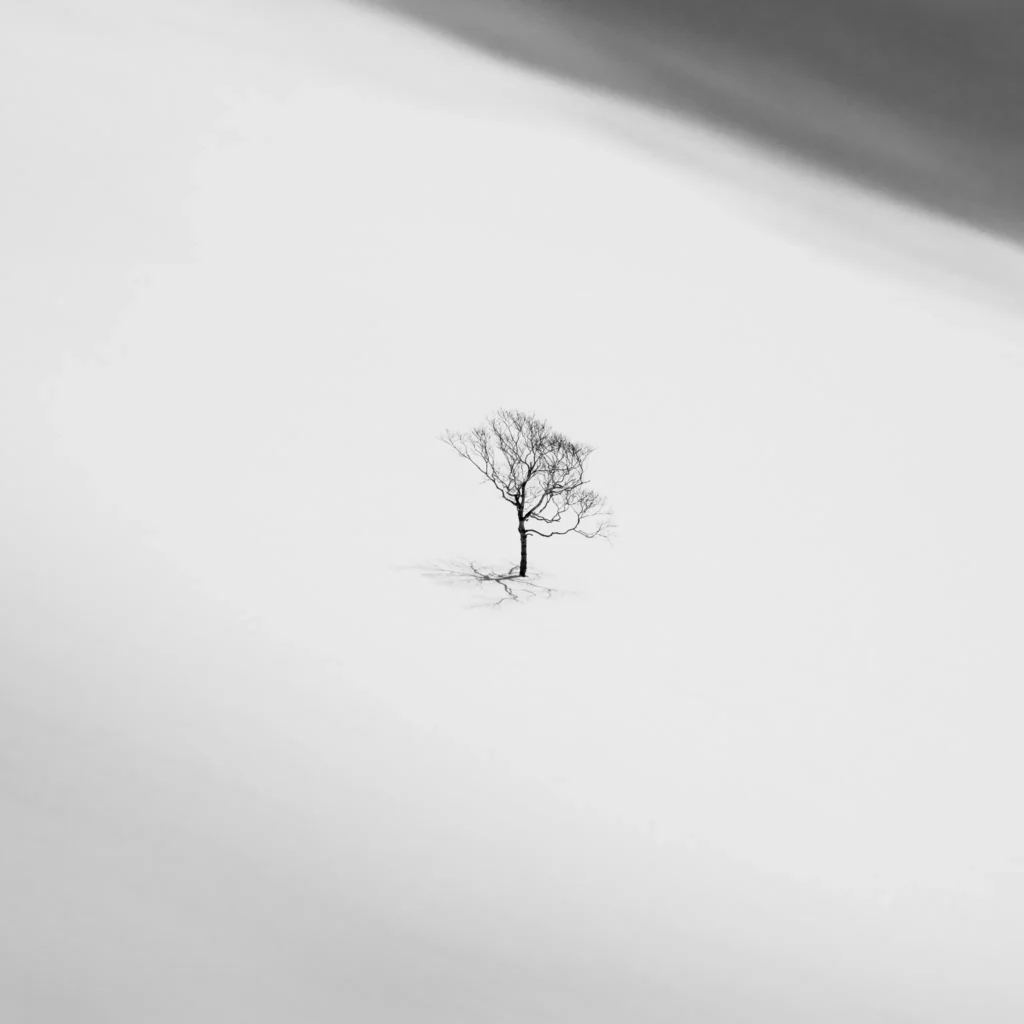
3. Protecting Your Gear in Harsh Winters
Winter can be brutal on gear if you’re not careful.
Use Weather-Sealed Cameras:
I currently use the Nikon Z8, but in the past I trusted Olympus and Fujifilm gear. All survived snow and rain without issue.
Manage Batteries:
Cold kills batteries. I carry spares in an inner pocket and sometimes stick hand warmers on the camera grip to extend battery life.
Save Your Fingers:
Hand warmers aren’t just for batteries — they’ve saved my fingers on long wildlife shoots more than once
4. Avoiding the Dreaded Condensation
Condensation can ruin your gear — but it’s avoidable.
Before Heading Out:
Let your gear cool gradually before using it. I usually put it in a closed bag and leave it outside or in a cool place for a while so it has a chance to acclimatise to the cold. Just putting it in a bag inside a warm car isn’t enough — the goal is to reduce the temperature difference before exposing it to the outdoor air.
Coming Back Indoors:
Put your camera and lenses in an airtight bag before coming inside. Let it slowly warm up in the sealed bag to prevent fogging and moisture.
I’ve skipped this before — and ended up with gear covered in condensation. My cameras survived, but I don’t take the risk anymore.
5. Dealing with Long Waits in the Cold
On my first attempt at photographing flying squirrels in winter, I was determined to catch the exact moment they emerged from their nest. To make sure I didn’t miss it, I kept my hands on the shutter button for hours, ready to shoot the instant they appeared.
Despite wearing gloves, the freezing temperatures soon took their toll. My hands went completely numb, and it was incredibly painful when the feeling finally returned. That experience made it clear I needed a better plan.
The second time, I came prepared. I set up my camera on a tripod, aimed it at the nest, and connected a cable release. This let me keep my hands in my pockets while still being ready to shoot the moment the squirrels emerged.
I also stuck hand warmers onto the camera grip. Not only did this help keep the batteries functioning in the cold, but it also gave me a bit of warmth when I had to handle the camera directly.
That small adjustment made a huge difference. The long wait was far more bearable, and I still got the shot I was hoping for — without sacrificing the feeling in my fingers. It was a valuable lesson in staying warm and prepared when working in extreme cold.
6. Adjusting Your Settings for Snowy Scenes
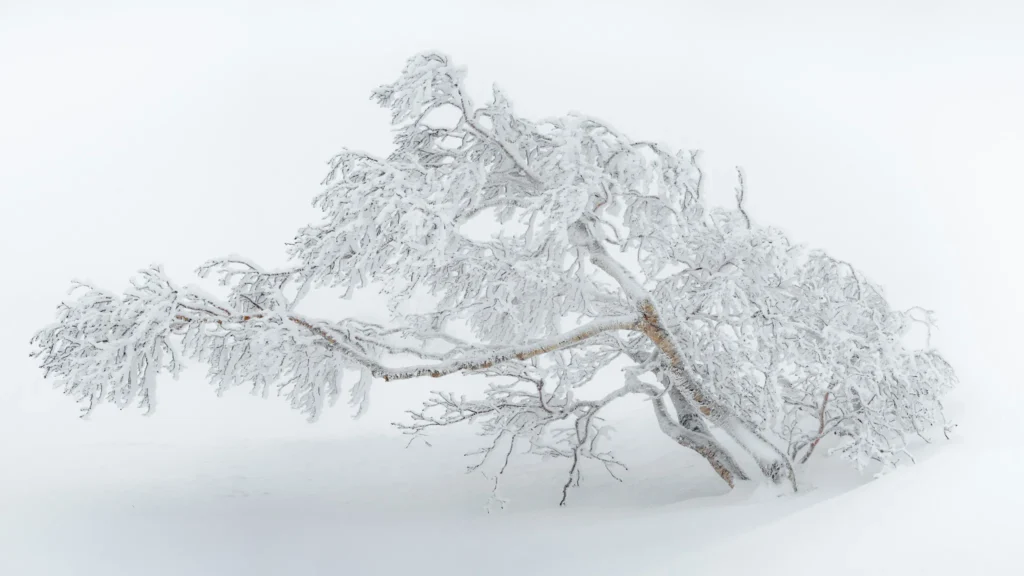
Snow can confuse your camera’s metering and color balance. A few quick adjustments help:
- Exposure Compensation: Snow often comes out gray. I usually set +1 to +2 EV so it looks properly white.
- White Balance: Snow can look blue in-camera. I tweak WB manually or fix it in post.
- Filters: A polarizer helps cut glare and deepen blue skies on sunny days.
7. Bonus Gear and Tips for Remote Winter Adventures
Accessing remote winter spots is half the fun (and challenge). A few extra tools I rely on:
- Snowshoes – These let me explore deep snow easily
- Alpine Touring or Cross-Country Skis – If you’re comfortable on skis, they’re a great way to cover longer distances — and you get to enjoy skiing as a bonus
- Thermos and Snacks – A thermos with hot coffee or tea can be a lifesaver on cold days, offering warmth and comfort when you need it most. I always bring snacks too — keeping your energy up is critical for staying warm and alert in freezing conditions
Final Thoughts
Winter photography is as rewarding as it is challenging. I’ve had days where I’ve nearly frozen but came home with photos I’ll cherish forever. Planning ahead, dressing appropriately, and protecting your gear will allow you to focus on creating stunning photos without letting the cold ruin your day.
If you’re heading to Hokkaido this winter, my Hokkaido Nature Photography Map highlights shoot locations for wildlife and landscapes across the island.
Feel free to explore the rest of the blog for more photography guides, travel stories, and behind-the-scenes insights. And if you’d like new posts and photo tips sent straight to your inbox, you can sign up to the email list below.
